Your Guide to In-House Concrete Floor Coatings
Concrete floor coatings are protective layers applied to concrete surfaces to enhance their durability, resistance, and aesthetics. These coatings protect the concrete from wear and tear, stains, chemicals, and other damaging elements while providing a durable, professional finish.

Overall, concrete floor coatings enhance the functionality and lifespan of concrete surfaces, providing benefits depending on the specific type of coating used. For many facility managers, in-house concrete coating installation is too difficult. In this article, we'll outline the coatings in Hillyard's Concrete Defense System and the unique aspects of this system that make it well-suited for in-house indoor application.
Traditional Concrete Floor Coatings Vs. Hillyard Concrete Defense
The traditional method for installing a concrete coating involves meticulous floor preparation to achieve optimal adhesion and durability. This process typically begins with shot blasting or diamond grinding to address surface imperfections, followed by hand grinding along the edges where machinery cannot reach. After surface preparation, the floor is thoroughly cleaned and vacuumed. Next, a primer coating is applied to the surface. Subsequent layers are added to achieve the desired thickness, with sanding performed between coats to promote adhesion. The final step involves applying a top coat for a smooth finish.
Concrete Defense uses a primer that chemically bonds the coating to the surface. This eliminates much of the floor preparation work, like shot blasting or grinding. The complete coating system can be applied in about eight hours as long as the concrete surface is clean and in good repair. Concrete Defense can even be applied over an existing coating if the existing coating is well adhered.
The Concrete Defense® Process
Step 1: Evaluate your concrete floor
There are a few steps you will take before coating the entire floor:
- Ensure the concrete is at least 180 days old and in sound condition. Also, make sure the surface temperature range is between 50 and 90F. Inspect the floor for damage. You won't want to apply any coating to loose, damaged, or spalling concrete.
- Test for a previous coating. Sprinkle a small amount of water on the surface. If the water beads instead of soaking into the surface, there is an existing coating or seal. Remember this result because we will use it when we choose a pad to scrub the floor.
- Check to see if the previous coating is permanent or removable. Apply a small amount of floor stripper to the surface. If the stripper emulsifies the surface, then the floor coating is removable. Use a product like Arsenal Stripper to remove the previous coating completely.
- If the previous coating is permanent, check for adhesion. See the Concrete Defense instructions for the complete procedure. The test involves applying the Concrete Defense system to a 2' x 2' square and waiting 48 hours. After the coating is ready, use a razor knife to score an X-shape through the coating to the concrete. Apply duct tape to the area and press it firmly into place. After waiting 60 seconds, quickly remove the duct tape. If most of the coating is removed by the tape, then the adhesion is insufficient for coating. You can still use Concrete Defense but thoroughly scrub the floor with a diamond abrasive system like the Malish Diamabrush first. After scrubbing, repeat the adhesion test. Continue this process until the previous coating is removed or the adhesion test is passed.
Step 2: Repair the floor if needed
If your floor has cracks, repair them now. Ensuring the surface is properly prepared, and any cracks or imperfections are filled is crucial for a successful application. One of the best products on the market for filling cracks in concrete floors is CSR Rapid Cure Crack Filler. We also recommend Miracle Bond Concrete Repair Epoxy. Follow the manufacturer's instructions and allow the repairs to completely cure before proceeding.
Step 3: Prepare the Floor
Floor preparation is critical to the Concrete Defense process. Before applying any floor coating, you must ensure the floor is clean and dry.
- The floor pad you use during this step depends on the results of the "previous coating" test you did in step 1. If water is beaded on the floor, use Hillyard MFPP Surface Preparation Pads. If water did not bead on the floor, use Hillyard Black Scrub Pads.
- Scrub the floor with Hillyard SM-1 industrial cleaner degreaser, diluted at 6.0 oz/gallon. If using a floor machine, scrub a 10' x 10' section and then recover the solution with a wet-dry vacuum. If using an automatic scrubber, mix the SM-1 in the solution tank, scrub, and remove the solution.
- Rinse the floor with clean water. If necessary, rinse repeatedly until the floor is clean and the cleaning solution is completely recovered.
- Let the floor dry completely.

Step 4: Apply Hillyard Concrete Primer
Hillyard Concrete Primer promotes adhesion by bonding and fusing the top coat seal to the surface. As part of the Hillyard Concrete Defense® system, Concrete Primer is a safer floor prep alternative. It eliminates typical steps like acid-etching, grinding, and shot-blasting, making it easier to get professional results with in-house floor finish expertise. The innovative proprietary acrylic formulation maintains a slight tack to adhere to the concrete surface and top coat seal. Concrete Primer cures with the top coat to provide a durable, bonded protective coating system.
- Make sure that the floor surface temperature is between 50 and 90F.
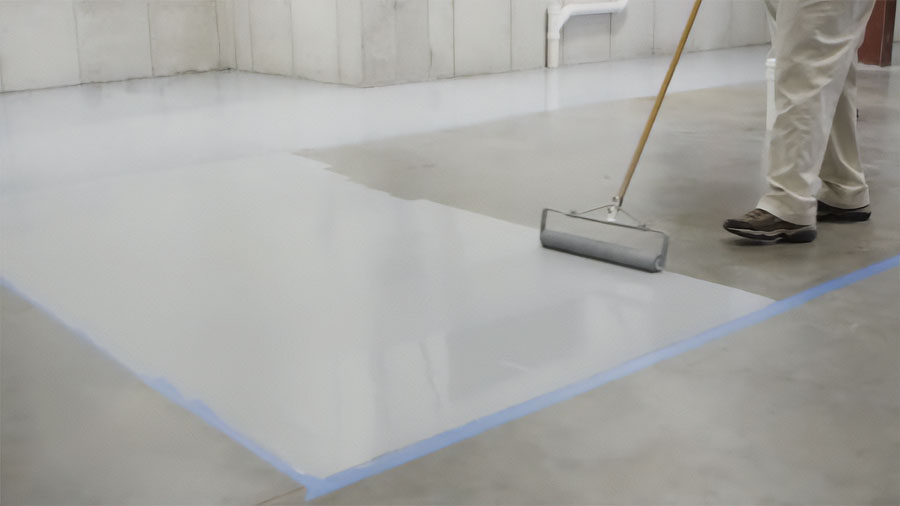
- For smooth or previously coated floors, use a flat mop to apply Concrete Primer. For rough floors, use a 3/8" nap roller.
- Apply the primer evenly over the floor. For bare floor, coat 500 to 700 square feet per gallon. For previously coated floors, coat 1,000 to 1,500 square feet per gallon.
- Allow the coating to dry for at least one hour. When dry, the surface will feel tacky. Do not add a second coat of primer. If there are any bare spots, recoat only those areas.
- IMPORTANT: The primer must be covered with the next coating in the system within 24 hours of application.
Step 5: Apply Hillyard Concrete Seal
There are several options for selecting a concrete seal depending on the type of traffic anticipated and the desired decorative finish.
- Low Traffic Seal: LT Concrete Seal is a fast-drying clear sealant. It provides dust control, excellent gloss, and great durability under pedestrian and handcart traffic. This sealant is a no-mix, single-component, water-based formulation that dries in one hour under normal conditions.
- Medium Traffic Seal: MT Concrete Seal is a clear coat sealant enhanced with urethane for additional durability. It provides dust control, excellent gloss, and great durability under pedestrian, handcart, and power dolly traffic. This sealant is a no-mix, single-component, water-based formulation that dries in three hours under normal conditions.
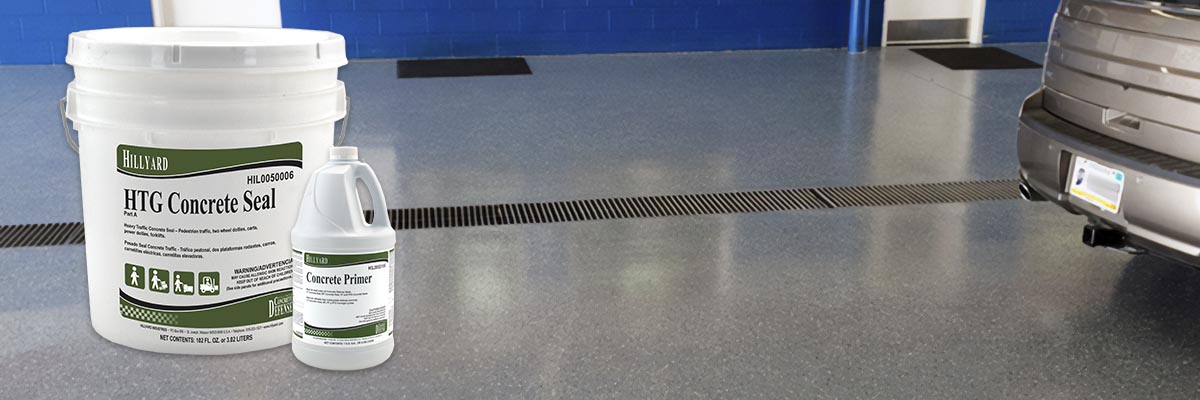
- High Traffic Seal: This product line consists of two different seals. HT Concrete Seal is clear and HTG Concrete Seal is grey. These seals are two-part epoxy formulations that offer extreme performance. This series of sealants creates a durable surface that can withstand forklift traffic and hot tires and offers protection against solvents.
High Traffic Seal Decorative Options
Hillyard offers three colors of polymer flakes to decorate the High Traffic Concrete Seals. These flakes are applied to the grey seal coating when wet. Once the decorated surface is dry, follow with a second clear coat of HT Concrete Seal to finish the application. Decorative flakes are available in blue, beige, and gray.
Slip Resistant Additive Option
Adding this unique texture additive to the final sealant topcoat will reduce the potential for slipping. This additive is used with the HT Concrete Seal and HTG Concrete Seal products. Use on stairs, indoor decks, walkways, or inclined areas that tend to get damp and become slippery.
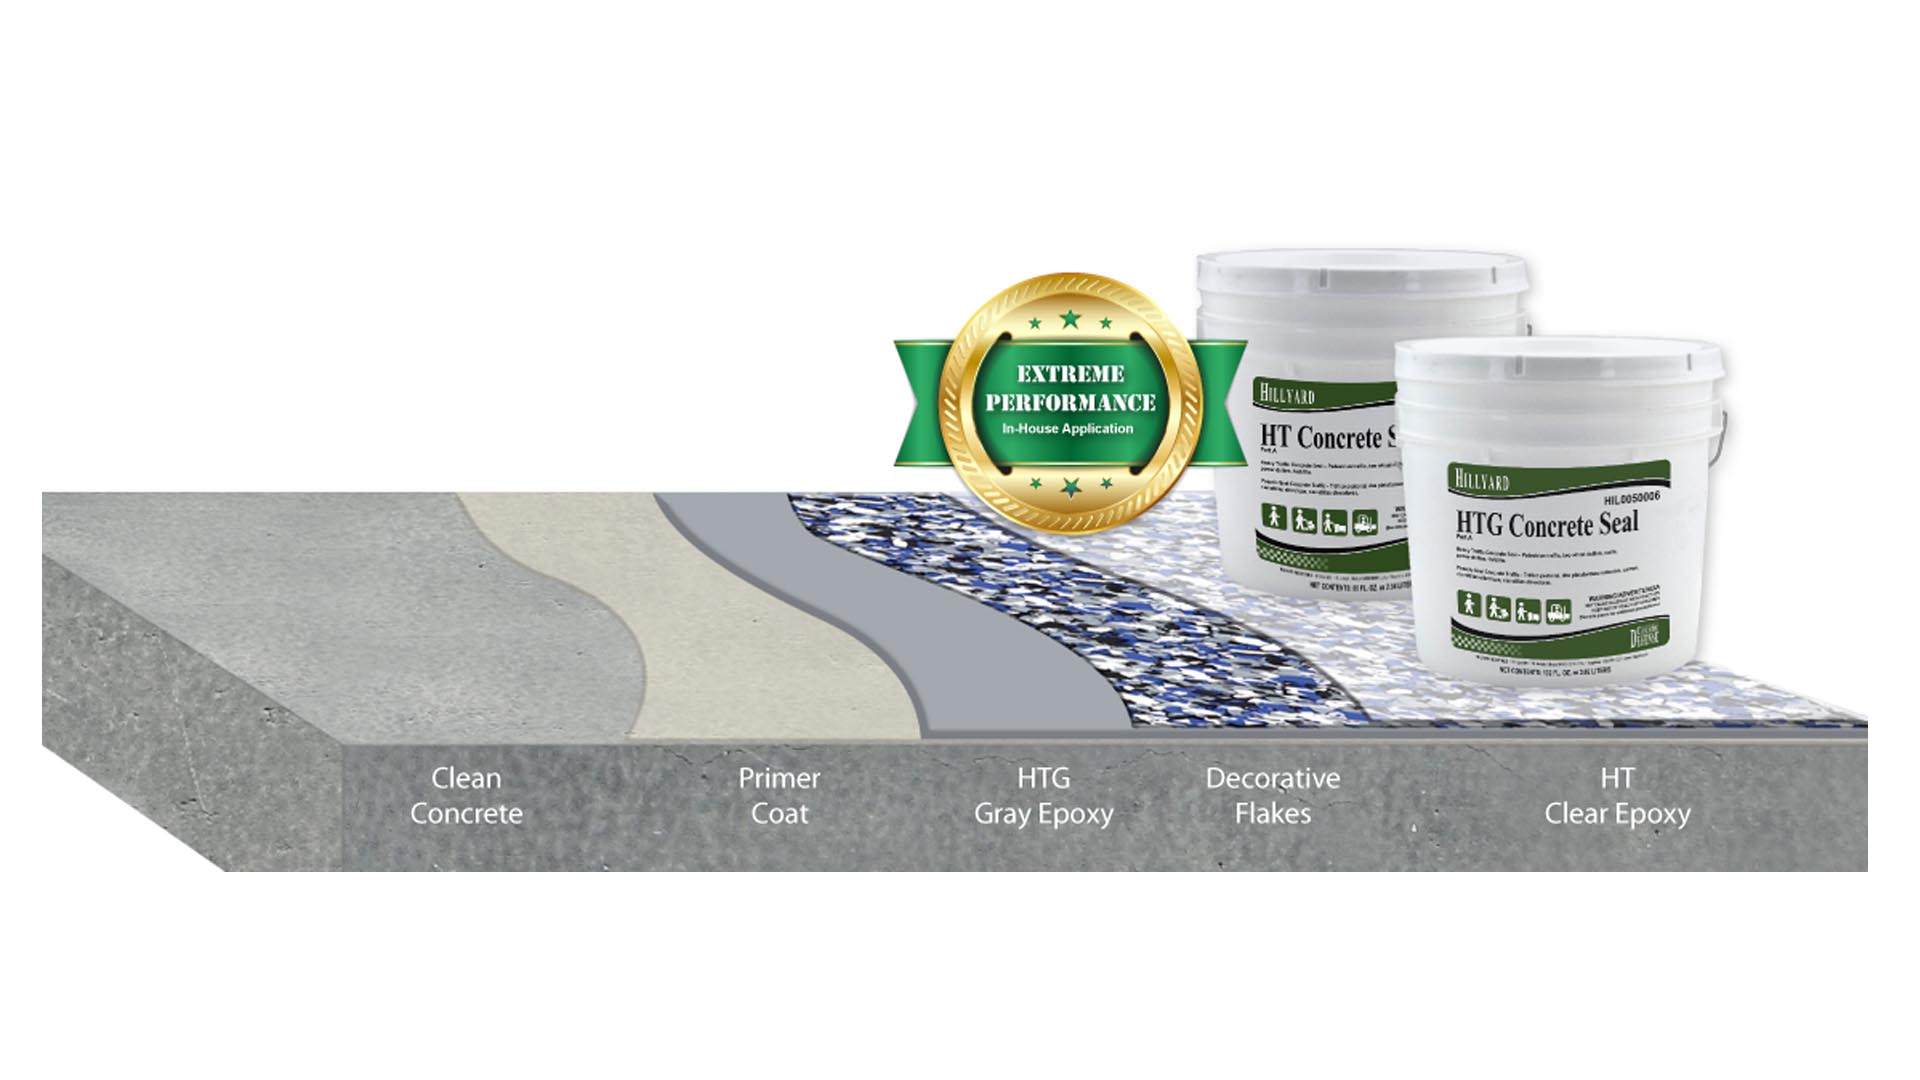
The Complete System
This image illustrates the layers applied to the floor to create a high-traffic, decorated coating. In this example, a grey layer of epoxy is applied to the primer-coated concrete. Blue decorative flakes are applied, and a final clear layer is applied over the decorative layer.

Videos
Introduction to Concrete Defense
Concrete Defense Application (Floor Machine / Wet Dry Vacuum)
Concrete Defense Application (Automatic Scrubber)
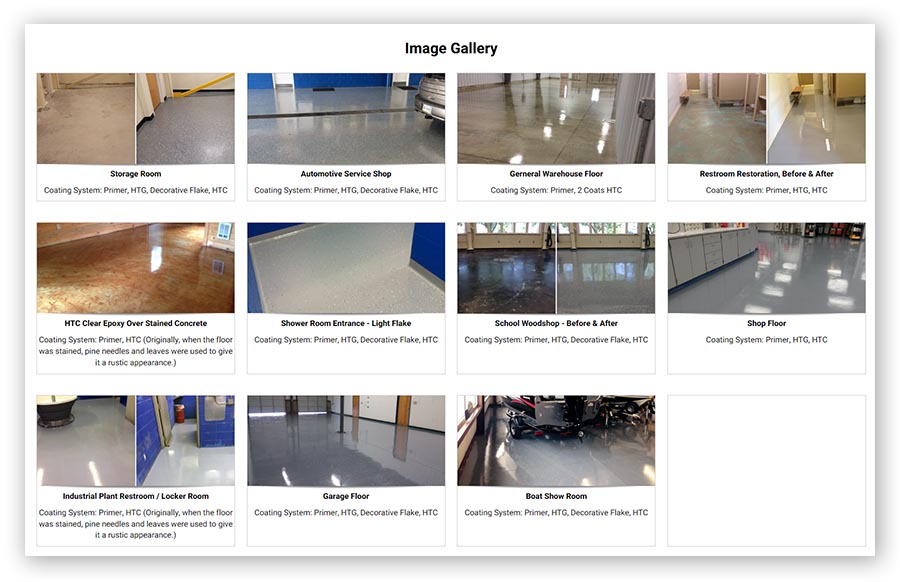
Image Gallery
Click the image below to visit the Concrete Defense Image Gallery

Hillyard's Experts Can Help You With Your Concrete
Hillyard offers comprehensive support for all your concrete coating needs. With representatives stationed across the United States, we ensure personalized assistance is readily accessible wherever you are. Whether you're looking to protect your concrete surfaces with our innovative Concrete Defense System or seeking guidance on the best coating solutions for your specific requirements, our knowledgeable representatives are here to help. Simply fill out the "I'm Interested" form below, and one of our dedicated professionals will promptly reach out to provide expert advice and assistance tailored to your needs. With Hillyard, achieving durable, professional-quality concrete coatings has never been easier.